Instruction Manual for Odroid Based Edge Device / Gateway
Your gateway has been engineered and manufactured to our high standards for accuracy and dependability. Please read and understand this user manual before plugging in and using this product.
What you will receive
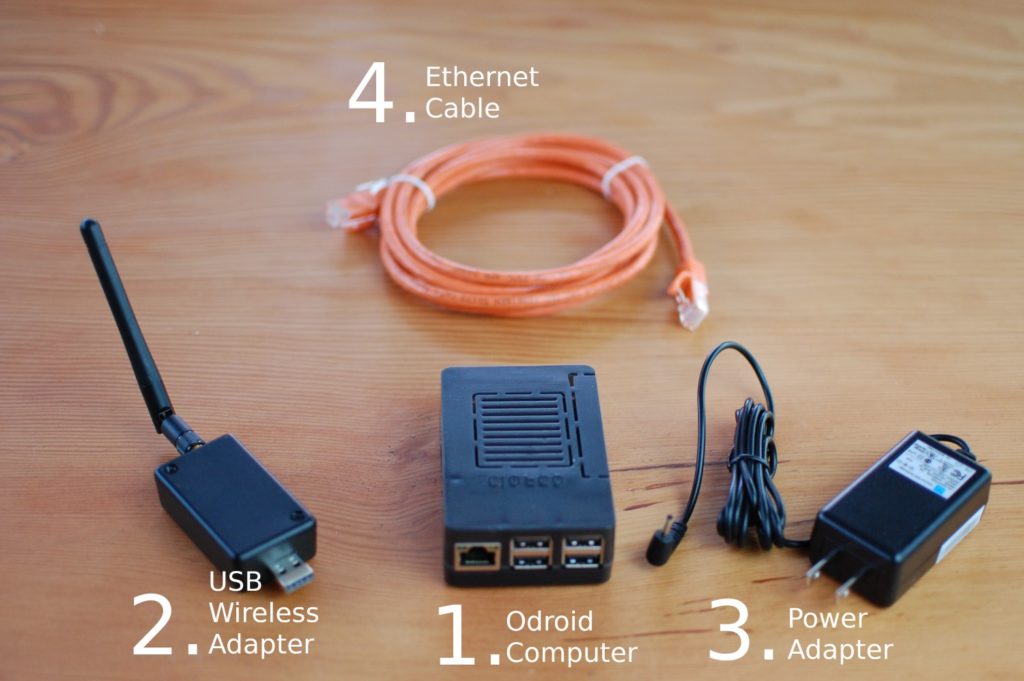
Aretas will ship you a box containing:
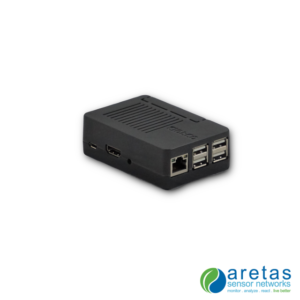
Odroid computer (32 or 64-bit)
USB Wireless Adapter (2.4GHz or 900MHz)
Power Adapter
Ethernet Cable
If anything is missing in your Edge device box, please contact Aretas immediately.
Once you have unpacked everything from your Edge device box, follow the instructions below to power up your device, bring it online and ready for sensor data.
Pre-installation checklist:
You have chosen a location within range of the wireless sensors
You have chosen a location close to your wireless router or internet connection
There is an available Ethernet port on your Internet router / switch
There is an appropriate power source to plug in the power adapter
You have unpacked all of the items
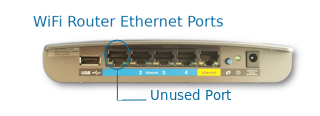
TIP: What is an Ethernet Port?
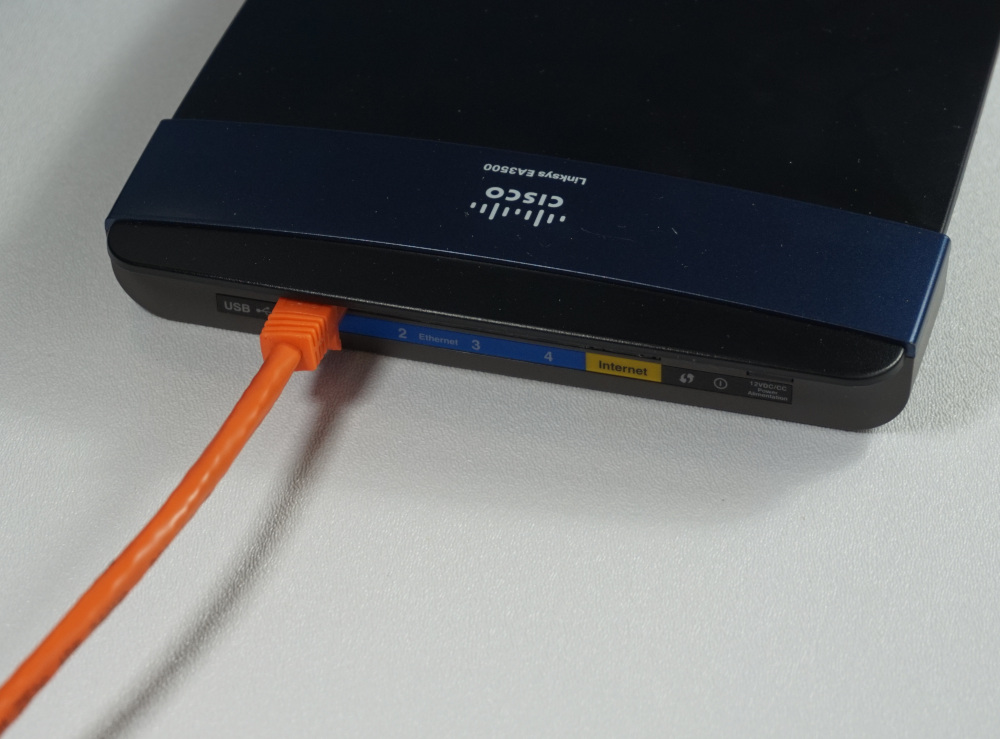
Ethernet is a type of network connection that uses an RJ-45 cable similar to a hard wired phone cable. Ethernet is an easy, trouble free way to connect a device to the network without having to worry about WiFi passwords, disconnections or interference. There are too many WiFi routers, Cable Modems or DSL modems to show every type of device, but almost every one has the ability to directly connect a device via Ethernet. Below is an example Cisco WiFi router.
Example WiFi router Ethernet ports
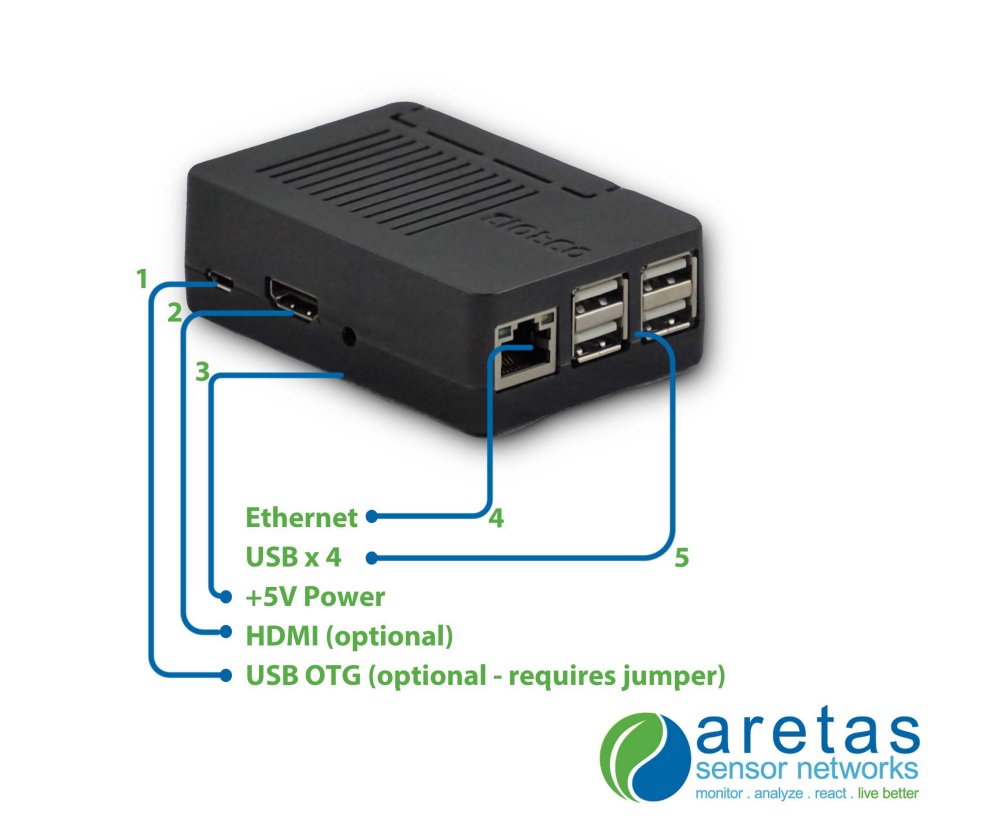
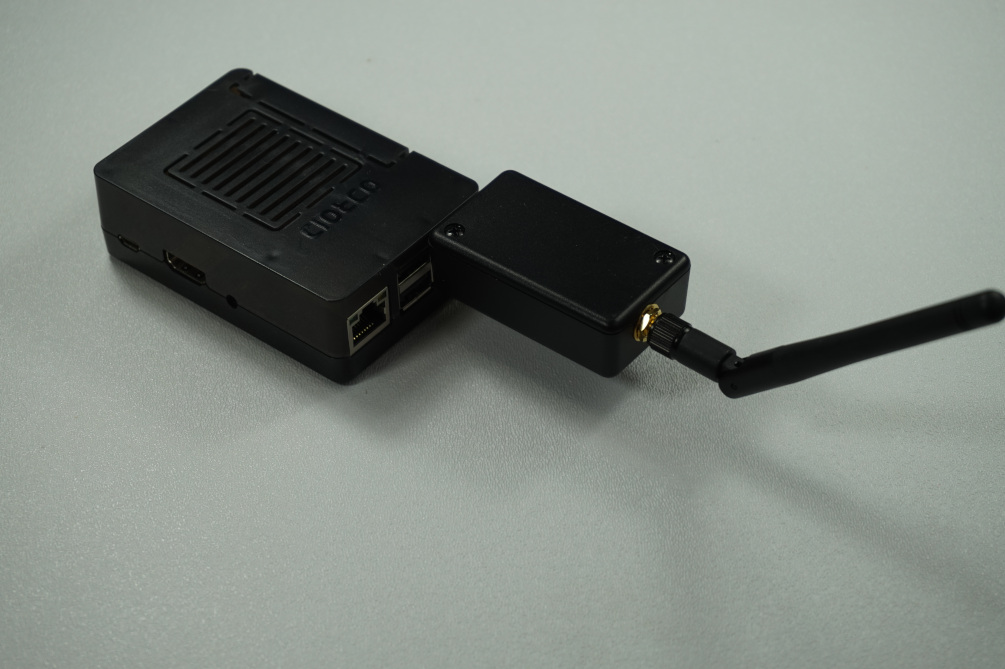
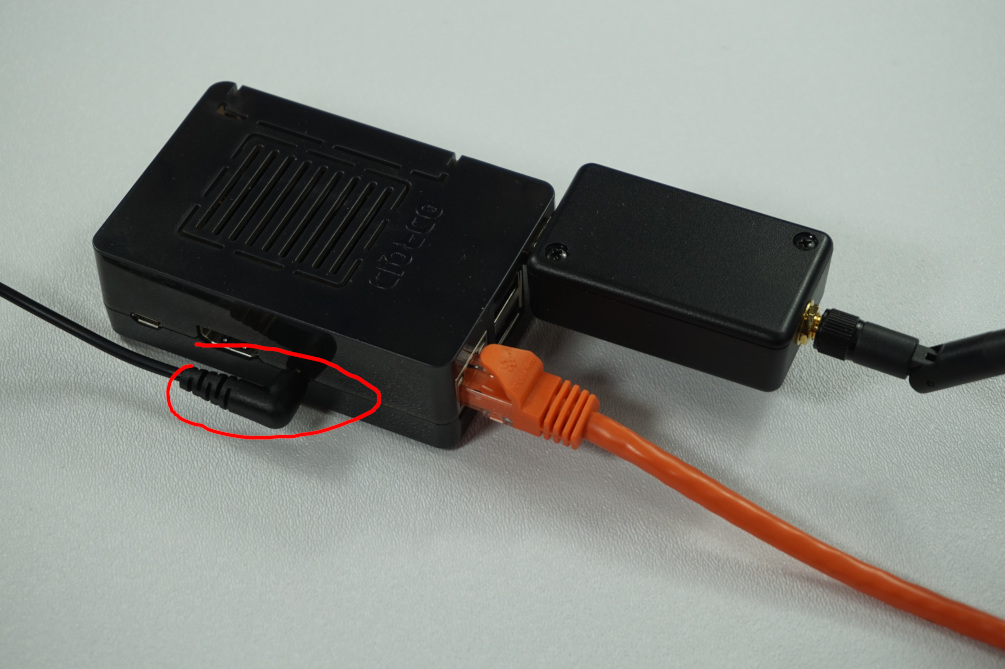
Odroid connections:
Installation steps:
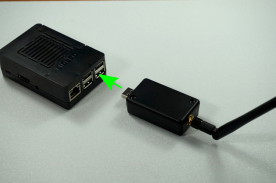
1.
Plug in the wireless adapter into the Odroid USB port furthest from the Ethernet connector
If your wireless adapter is an older style with attached cable or you have chosen to use a USB extension cable, plug the end into the similar port.
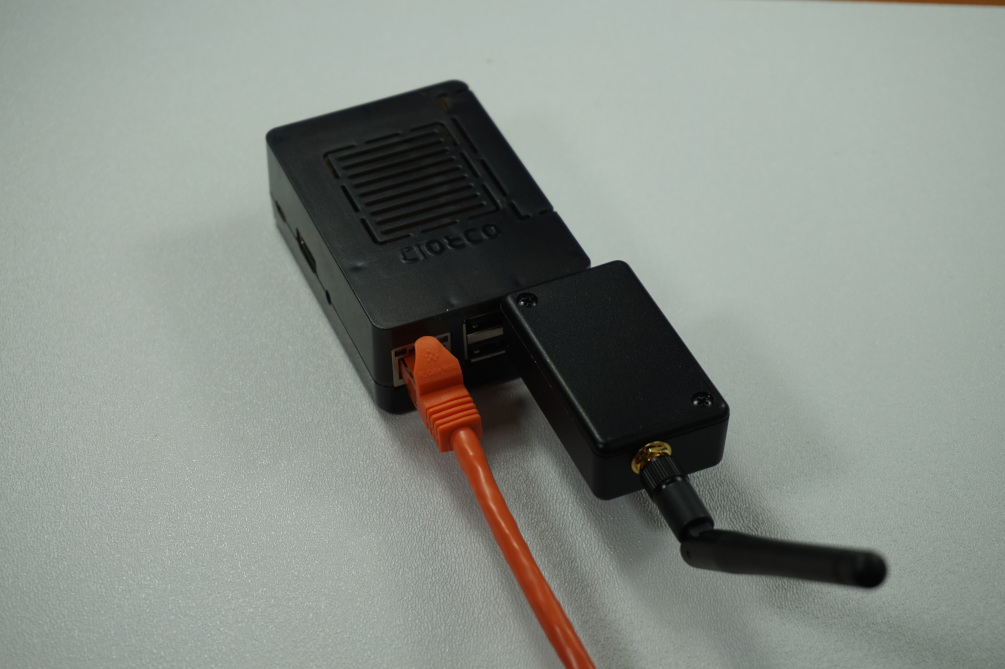
2.
Plug in the Ethernet cable to the Odroid device and your Internet router.
3.
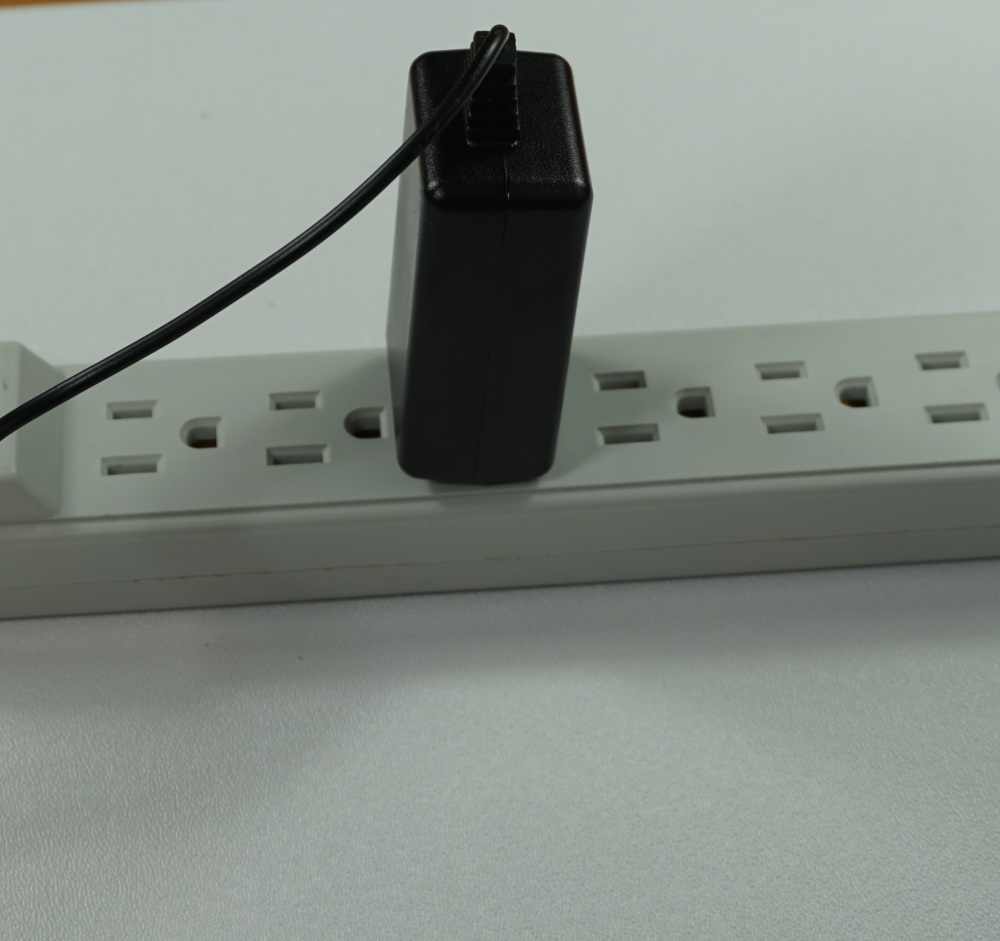
Plug in the power adapter cable DC jack to the Odrod, then plug in the power adapter.
Your power adapter may not be exactly as shown. Power adapters vary from region to region and have changed over time.
4.
Once you have plugged in the power adapter, wait 30 seconds to a minute for the system to boot up completely.
Once your Odroid is powered up and connected to the Internet, you will see the lights on the Ethernet port illuminate and blink occasionally. Your Internet router may also have lights that confirm connectivity.
After the Odroid is booted up, follow the applicable steps below to ensure the device software is functioning correctly.
5.
Sensors
Now it’s time to power up any Aretas Sensors that you ordered with your system.
Plug in or power up your sensors (follow the installation guides for your sensors, which may differ from product to product).
Once the sensors are powered up, you can proceed to view the local edge device interface (if configured) OR your cloud software.
The Edge software shows all of the sensor data as it is received, in real time. With the Edge software, you do not need cloud access to view your real time data.
7.
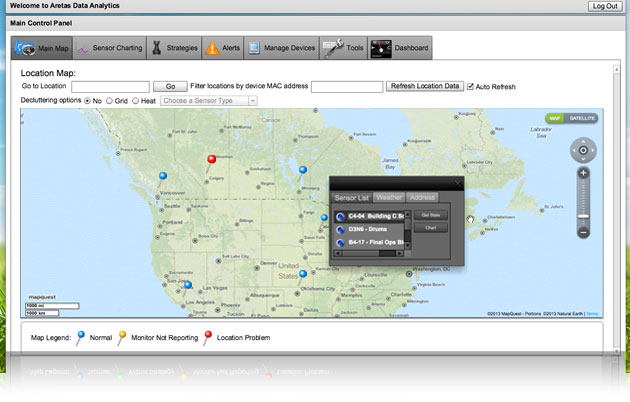
Cloud Software (Optional)
If you requested cloud software access, click to login to the Client software and check your sensor statuses on the main page after logging in.
Blue pins indicate the sensors are reporting and the gateway is functioning correctly.
8.
Enjoy your new sensors and data!
If you made it here and all is well, relax and enjoy your data. If you have questions about how to interpret sensor data, need help setting strategies or alerts, or need special software training, contact your sales representative.
If you need technical support, visit the knowledge base here on the site or contact Aretas for technical support.