Adding Locations and Sensors To Your Cloud Account
In your Cloud account, every Aretas Sensor needs to belong to a Location (even if that Location is a GPS tracked Truck for example, it needs to have a home Location). Adding Sensors to a Location is part of what authorizes the Sensor and Edge Device to speak to your Cloud account and send data. If you do not add a Sensor to your Cloud account, any data sent to the system will be discarded.
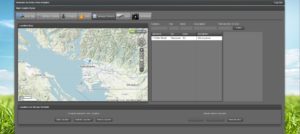
A Location typically has a physical address and coordinates (that we usually compute for you based on an address) You can however pick any spot on a map as a Location. You can also (optionally) add a Building Layout to a Location. You can add several Layouts to a Location (e.g. for each floor of a Building)
Adding a Location
- Login to your account
- Navigate to the “Manage Devices” section
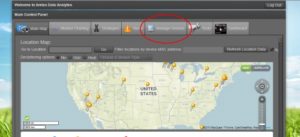
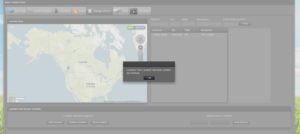
- Click on “New Location”
- Type in a Description (Mandatory) and an Address (Optional) if you don’t want to type in a complete address, you can choose to locate your location on a map and click to place the pin.
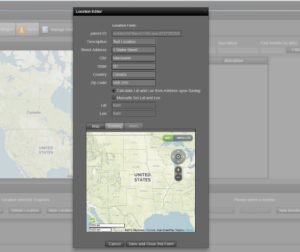
- Optionally, you can add a blueprint / building schematic / picture etc. that you can place sensors on later. You can add multiple maps to represent different floors or areas.

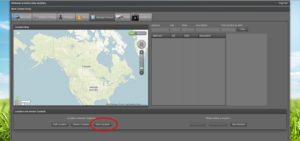
- Click “Save and Close This Form” and the Location will be saved.
- Click “Ok” to close the dialog box and you’re done! You should now see a new pin on the map representing your new Location.


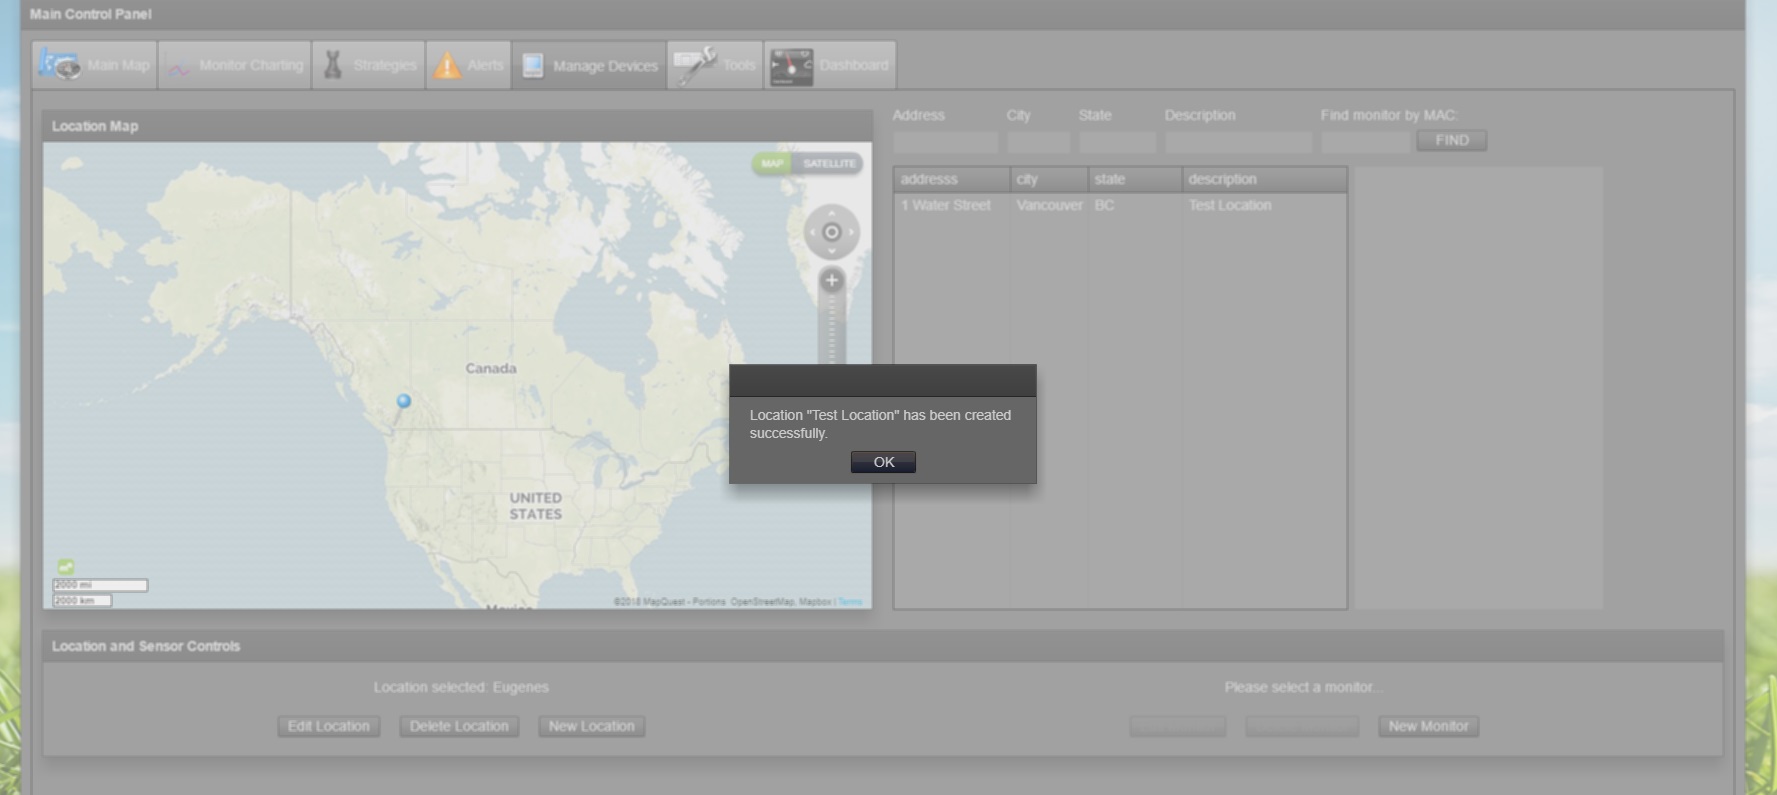

If you’ve followed these steps correctly, you have now successfully added a new location. To edit the location, click on it in the list view (highlighted in the image above) and click on “Edit Location”. To Delete the location, click on it so it’s highlighted, then click “Delete Location”
Adding a Sensor / Device
Ensure that you have already added a Location. If you haven’t, follow the steps above to add a new Location. Once you have added a Location or a have an existing Location, follow the steps below.
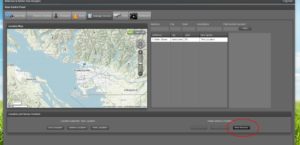
- Click on the Location to which you would like to add a Sensor or Device then click on “New Monitor” on the lower right hand side of your application window.
- Type in a Description of the Sensor / Device (required) and then type in the MAC Address of the device exactly as it appears on the sticker located on the device. You MUST enter the MAC address exactly or the sensor data will NOT appear in the software. You can also click on the map to place the sensor at a Location within your Location (or anywhere on the map really). If you have uploaded a building map, you can click to place the Sensor within the building map.
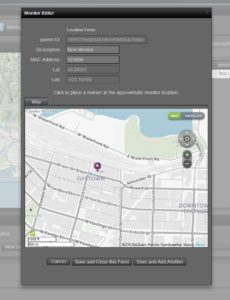
- Click “Save and Close this Form” or, if you have other Sensors / Devices to add, click on “Save and Add Another”. That’s it, you’re done!
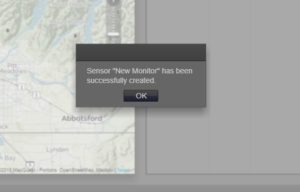
- Click on the Location list to refresh the Sensor / Devices pane to see your new Device.

- Navigate to the main Map page to view your new Location and/or Sensor on the map. The pin and status bar will most likely be YELLOW until the system has granted authorization to the device and has started to receive data from the Sensor or Edge Device.
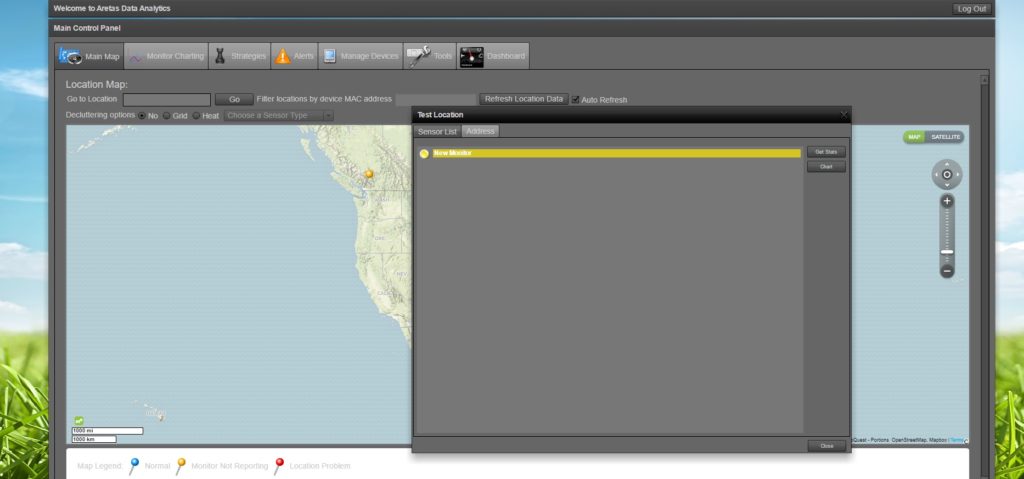


Note that it can take 5-10 minutes for new Devices to become authorized in the system. You may want to log out and log back in 5 – 10 minutes later. Once the device pin and device status has turned BLUE, it means the system has received messages from the device and all is well.
0 Comments