Managing Location Tags
The Aretas Location API allows you to visualize RTLS (real time location system) tags on a building map. The positions of the tag are updated via middleware for your RTLS platform and/or via the Aretas Location API. You cannot view or update a Tag’s location on a Building Map until it has been added to your RTLS Device Manager.
Adding a Location Tag or RTLS Tag
Adding a Tag to the system via the Cloud UI is easy.
Step 1:
Navigate to the Tag Device Management UI
If you’re an Aretas Subscriber, the Tag Device Management UI can be found at:
https://iot.aretas.ca/html/tag-management.html
In the menu, choose RTLS->Device Management
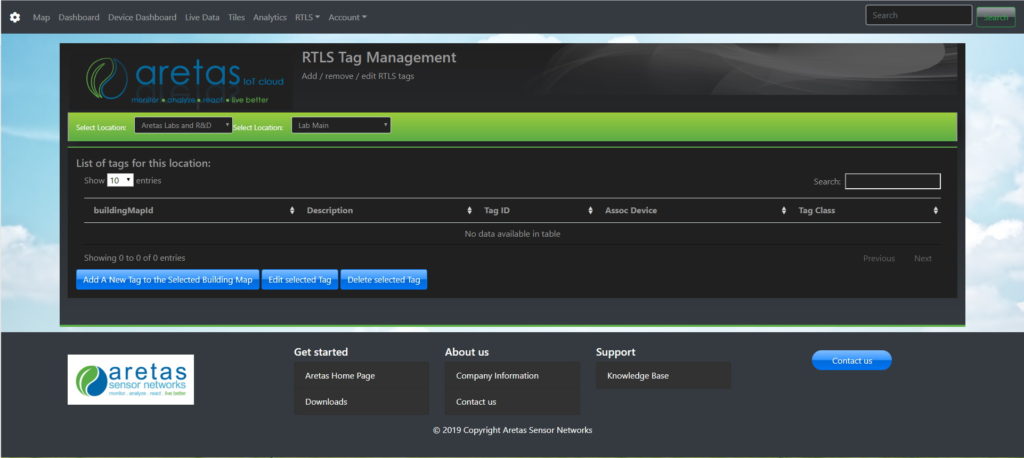
 You will be presented with the Tag Management Screen (shown below).
Step 2:
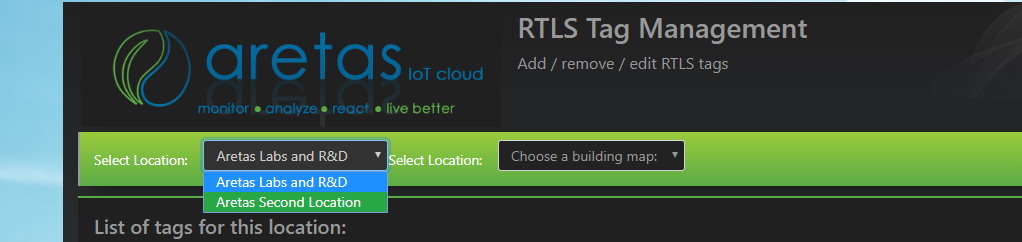
Select a Location containing the Building Map / layout to which you would like to add the Tag:
Step 3:
Select the Building Map to which you would like to add the Tag:

If you have no Tags added to that Building Map, a notice “No location tags found! Try creating one” will appear:
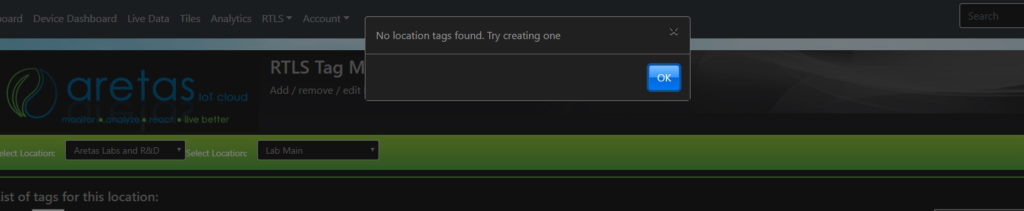
Click “OK” to proceed.
Step 4:
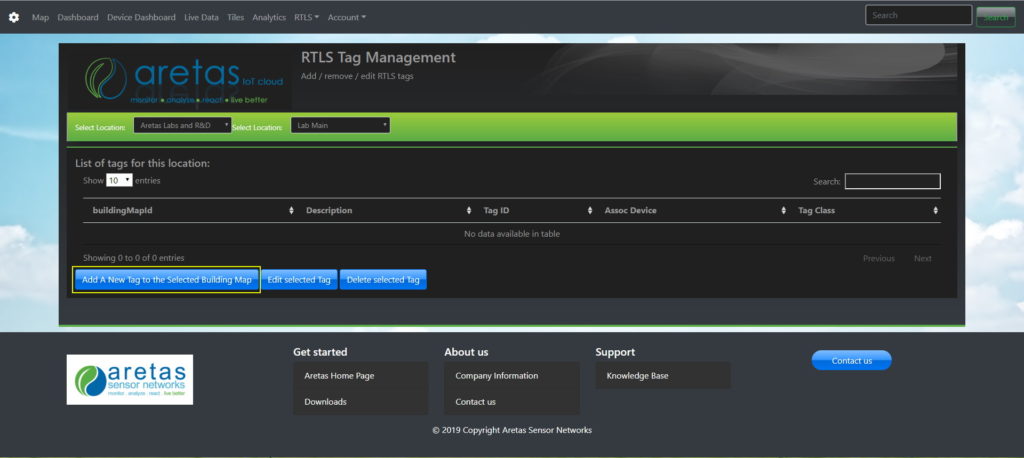
Click the Button titled “Add a New Tag to the Selected Building Map”
You will be presented with the Tag UI:
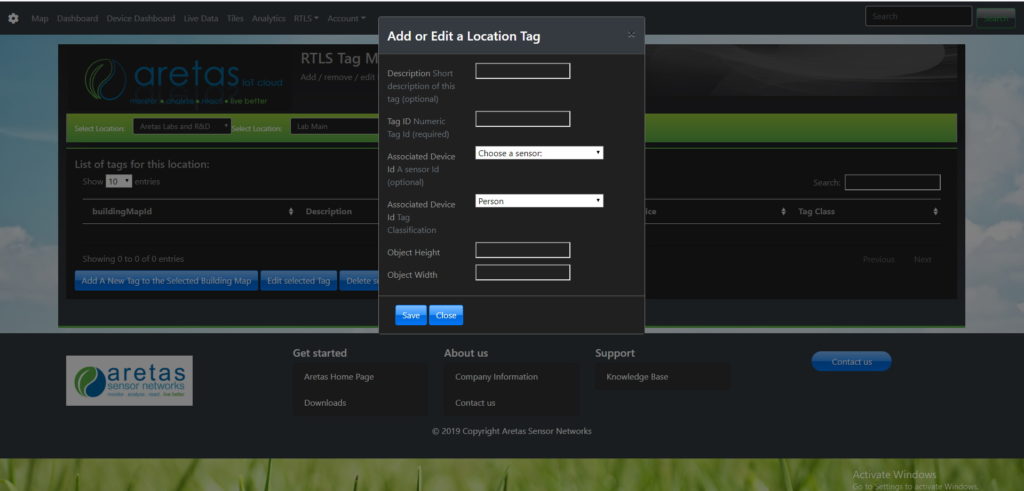
Step 5:
Fill out the Tag Information in the form
i) Description. Type a short, but useful description for the Tag.
ii) Tag ID: The most important part of the Tag information is the Tag ID, this is a unique number that identifies your Tag in the API. The number you enter here must match the Tag ID used to update the Tag’s properties (location) in the API. This number is usually the MAC of the Tag or the NID (Node ID) of the Tag. Check with your device manufacturer or solution provider if you’re unsure of this value.
iii) Associated Sensor Id. This is an optional property that allows you to associate a previously defined Sensor with your Tag. Sensors are defined in the standard Device Manager API. Your Tag may contain Sensors and if your middleware is configured to provide the sensor data from the Tag, you must configure a Sensor representing this Tag’s Sensors in the standard Device Manager. Sensors and Location Tags are independent objects, because you can have discrete devices collocated together on the same person, vehicle or location. Or, you may only wish to view the Sensor data from a Tag (or vice versa). Location Tags and Sensors also have discrete functions for data processing, analytics and machine learning. If you do not have a Sensor object defined and your Location Tag contains sensors, you can skip this step and create your Sensor object in the standard Device Manager later, then come back and associate the Sensor with your Location Tag.
iv) Tag Classification. Tag Classification allows you to choose a base classification for your tag (Asset, Vehicle, Person). This base classification triggers certain properties in the UI and enables the Location Tag for certain machine learning classification(s) based on the class.
v)Object Height / Object Width. This is the real world dimensions of the Object. You should not leave this blank, despite it being an optional property. The Object dimensions assist the system with more accurate Event Detection, Collision Detection and more rapid filtering / updates.
Step 6:
Click Save
That’s it! You’re done. The system may take 1-2 mins to Authorize the Tag in the system. After a 1-2 minute period, your Tag will start to appear in the Location UI.
0 Comments